

Check Format
Most likely, everyone sent or received a check at least once in their life. That is why it is important to know the parts of the check and what they mean. You should pay attention to the fact that a mistake in writing a check can lead to difficulties and aggravate your financial situation. Although the checks do not contain instructions, once you understand the different parts of the check you can more confidently fill in and receive them.
As you know, checks contain both pre-printed information and blank sections that must be filled out accurately and clearly every time you write a check.
Sample Check
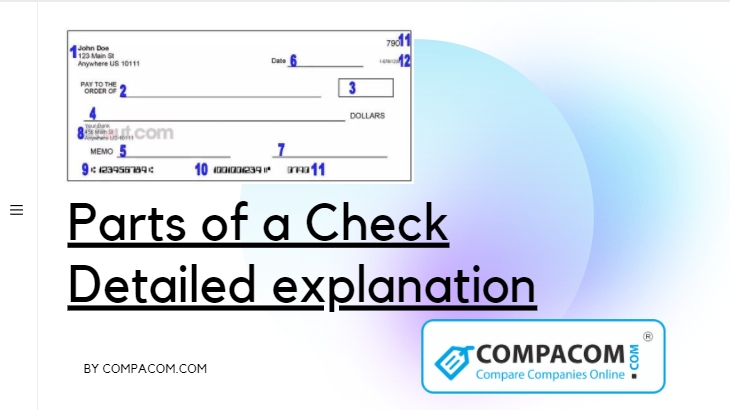
Parts Of A Check
So, looking at the check image, you can see various information and empty spaces. Explore what they mean below:
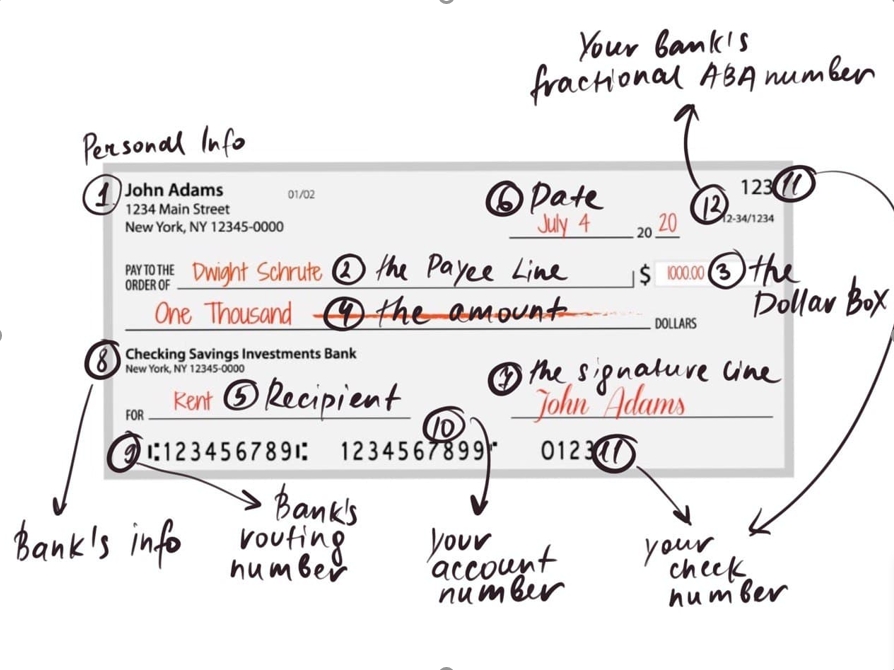
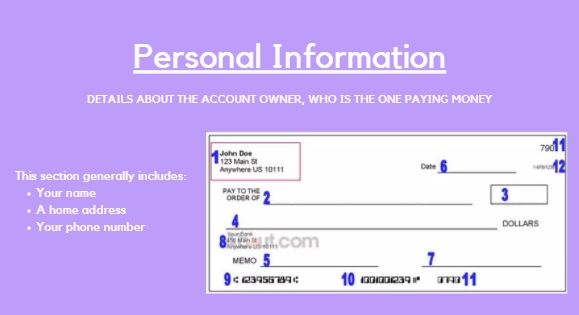
1. Personal Information. This section provides some details about the account owner (the one who pays the money). Typically, this section includes your name, home address, your telephone number. If you are concerned about security, then instead of the home address you can, for example, specify a post office box.
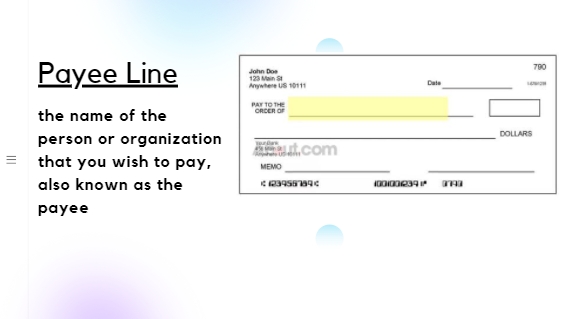
2. The payee line. This line indicates who will receive the money. So here you have to write the name of the person or organization you want to pay (the payee). Only the payee is eligible to deposit the check, endorse or cash it. Also note that you must use the full name of the recipients of the check to avoid confusion and other unwanted problems. If you do not want to include the name of a person or organization, you can pay your check to the order of “cash”. But you should pay attention to the fact that this is very risky as anyone can cash a check.
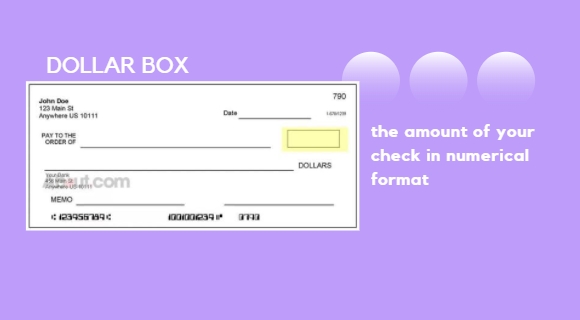
3. The dollar box. This empty field is intended for the amount of the check to be written in numerical format. For security purposes, you should also write the numbers as clearly as possible so that attackers cannot change them.
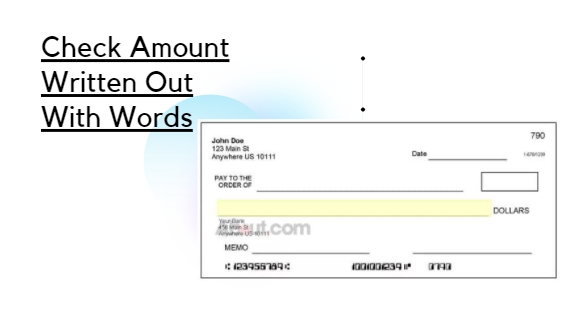
4. The amount. In this section, the amount of the check is written in letters (in fact, it duplicates what is written in numbers). This is necessary for added security and to confirm that you want to send a check for this exact amount.
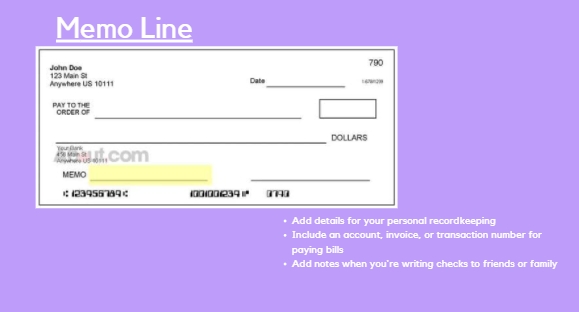
5. Recipient. This empty field must contain the name of the recipient of the check. It also often contains the memo line, which may contain informal notes on your check. Thus, you can specify additional, but this is not necessary.
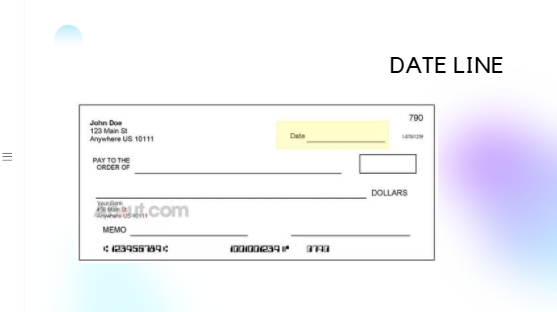
6. Date. The date line is sort of a time stamp for the check. Also, you must know that you have the right to delay the transaction and indicate a future date. However, you must notify the bank in order to delay the payment.
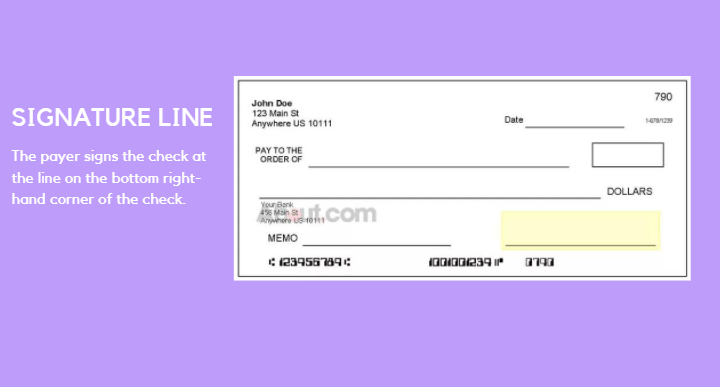
7. The signature line. This signed field confirms that the account holder has approved the payment. Moreover, the signature is an additional security measure and is usually the last step in writing a check. Therefore, it is recommended that you only sign it after you have double-checked all other data. Please note that if you sign the check and leave the other places blank, then whoever finds it can enter any amount there.
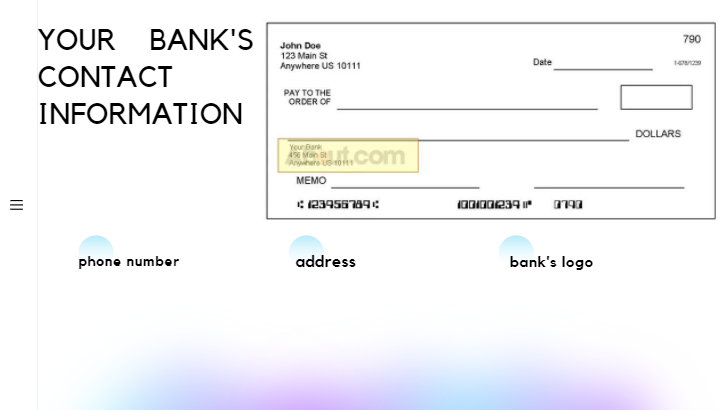
8. Bank's information. This usually contains the contact information of your bank and / or its logo. As a rule, a phone number and bank address can be indicated here.
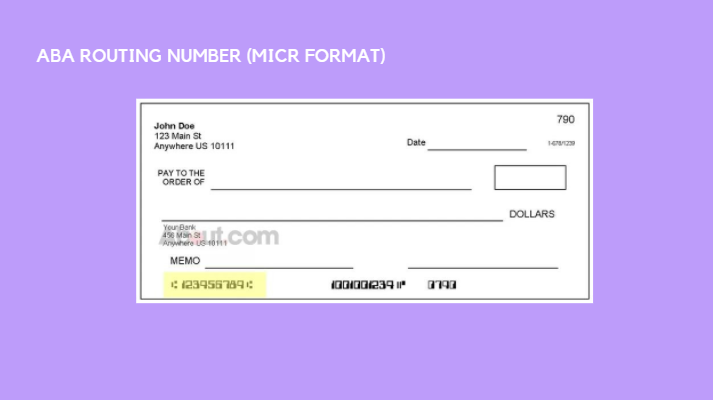
9. Bank's routing number. Your bank's American Bankers Association routing number tells banks where to find funds for the check. This number serves as a kind of address for your bank. This number helps other banks contact your bank.
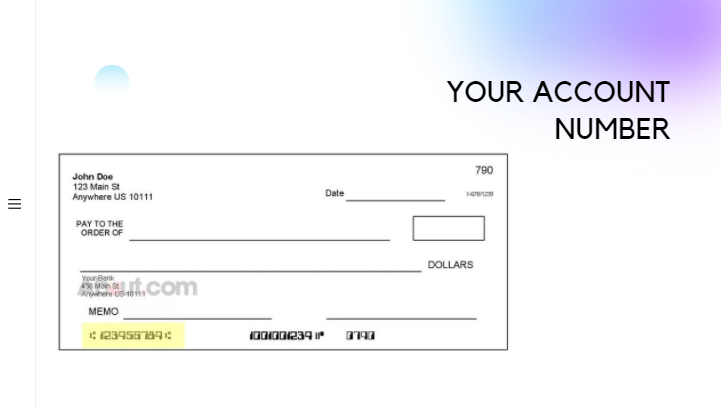
10. Your account number. Another point that allows the recipient to know where the money for the check will come from is your bank account number.
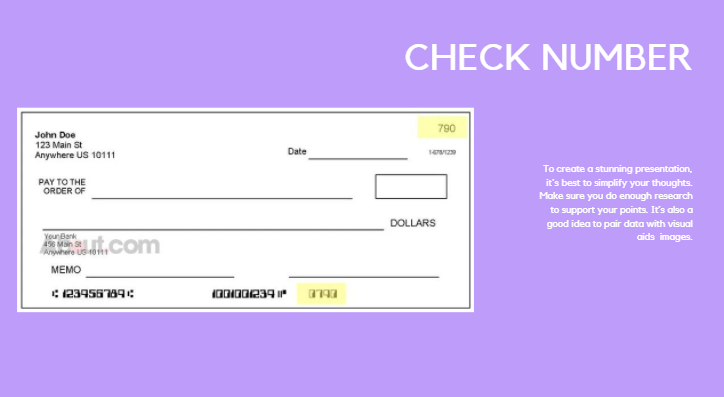
11. Your check number. You should note that it appears in two places on the check (pay attention to the picture). It is required to prevent fraud and is also a security measure to identify each payment.
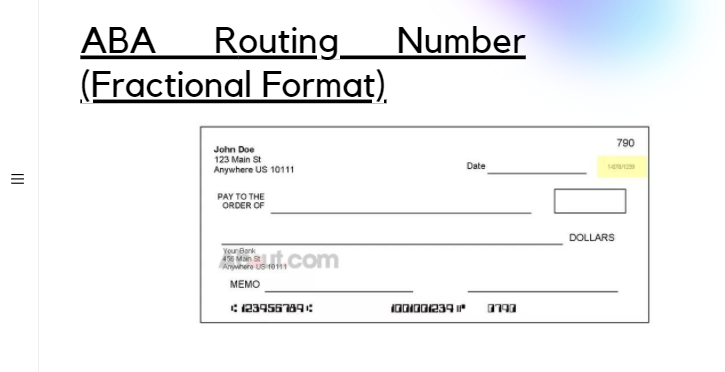
12. Your bank's fractional ABA number. Please note that the bank's ABA routing number is also printed in fractional format on the upper right corner.


You are about to post a question on compacom.com:
Any comments or reviews made on this website are only individual opinions of the readers and followers of the website. The website and its authors team are not responsible, nor will be held liable, for anything anyone says or writes in the comments. Further, the author is not liable for its’ readers’ statements nor the laws which they may break in the USA or their state through their comments’ content, implication, and intent.